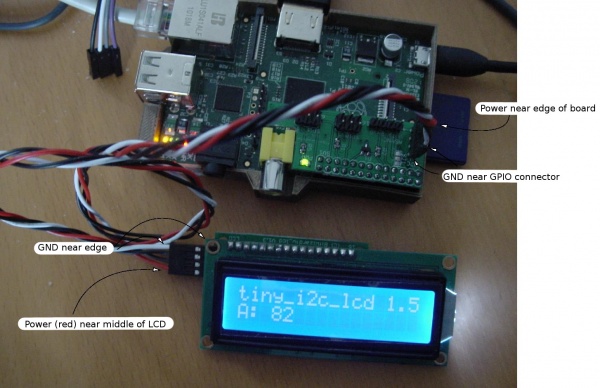
I2C connector pinout
Revision as of 12:12, 10 December 2015 by Cartridge1987 (talk | contribs) (→example connection to rpi_serial)
The printable version is no longer supported and may have rendering errors. Please update your browser bookmarks and please use the default browser print function instead.
For the interconnect between I2C masters and the I2C expansion boards BitWizard uses a 4-pin I2C cable.
The connector is laid out as follows:
| pin | function | remark |
|---|---|---|
| 1 | GND | Power Ground |
| 2 | SDA | Serial I2C Data |
| 3 | SCK | Serial I2C Clock |
| 4 | VCC | Power 5V. |
Connecting the BitWizard boards to an Arduino
| pin | function | arduino pin | Arduino Mega |
|---|---|---|---|
| 1 | GND | GND | GND |
| 2 | SDA | A4 (Analog input 4) | Digital 20 |
| 3 | SCK | A5 (analog input 5) | Digital 21 |
| 4 | VCC | VCC | VCC |
You could use other pins, but then you have to make a software I2C implementation. This is not too difficult, but might be neccesary if something else is already on the I2C pins.
